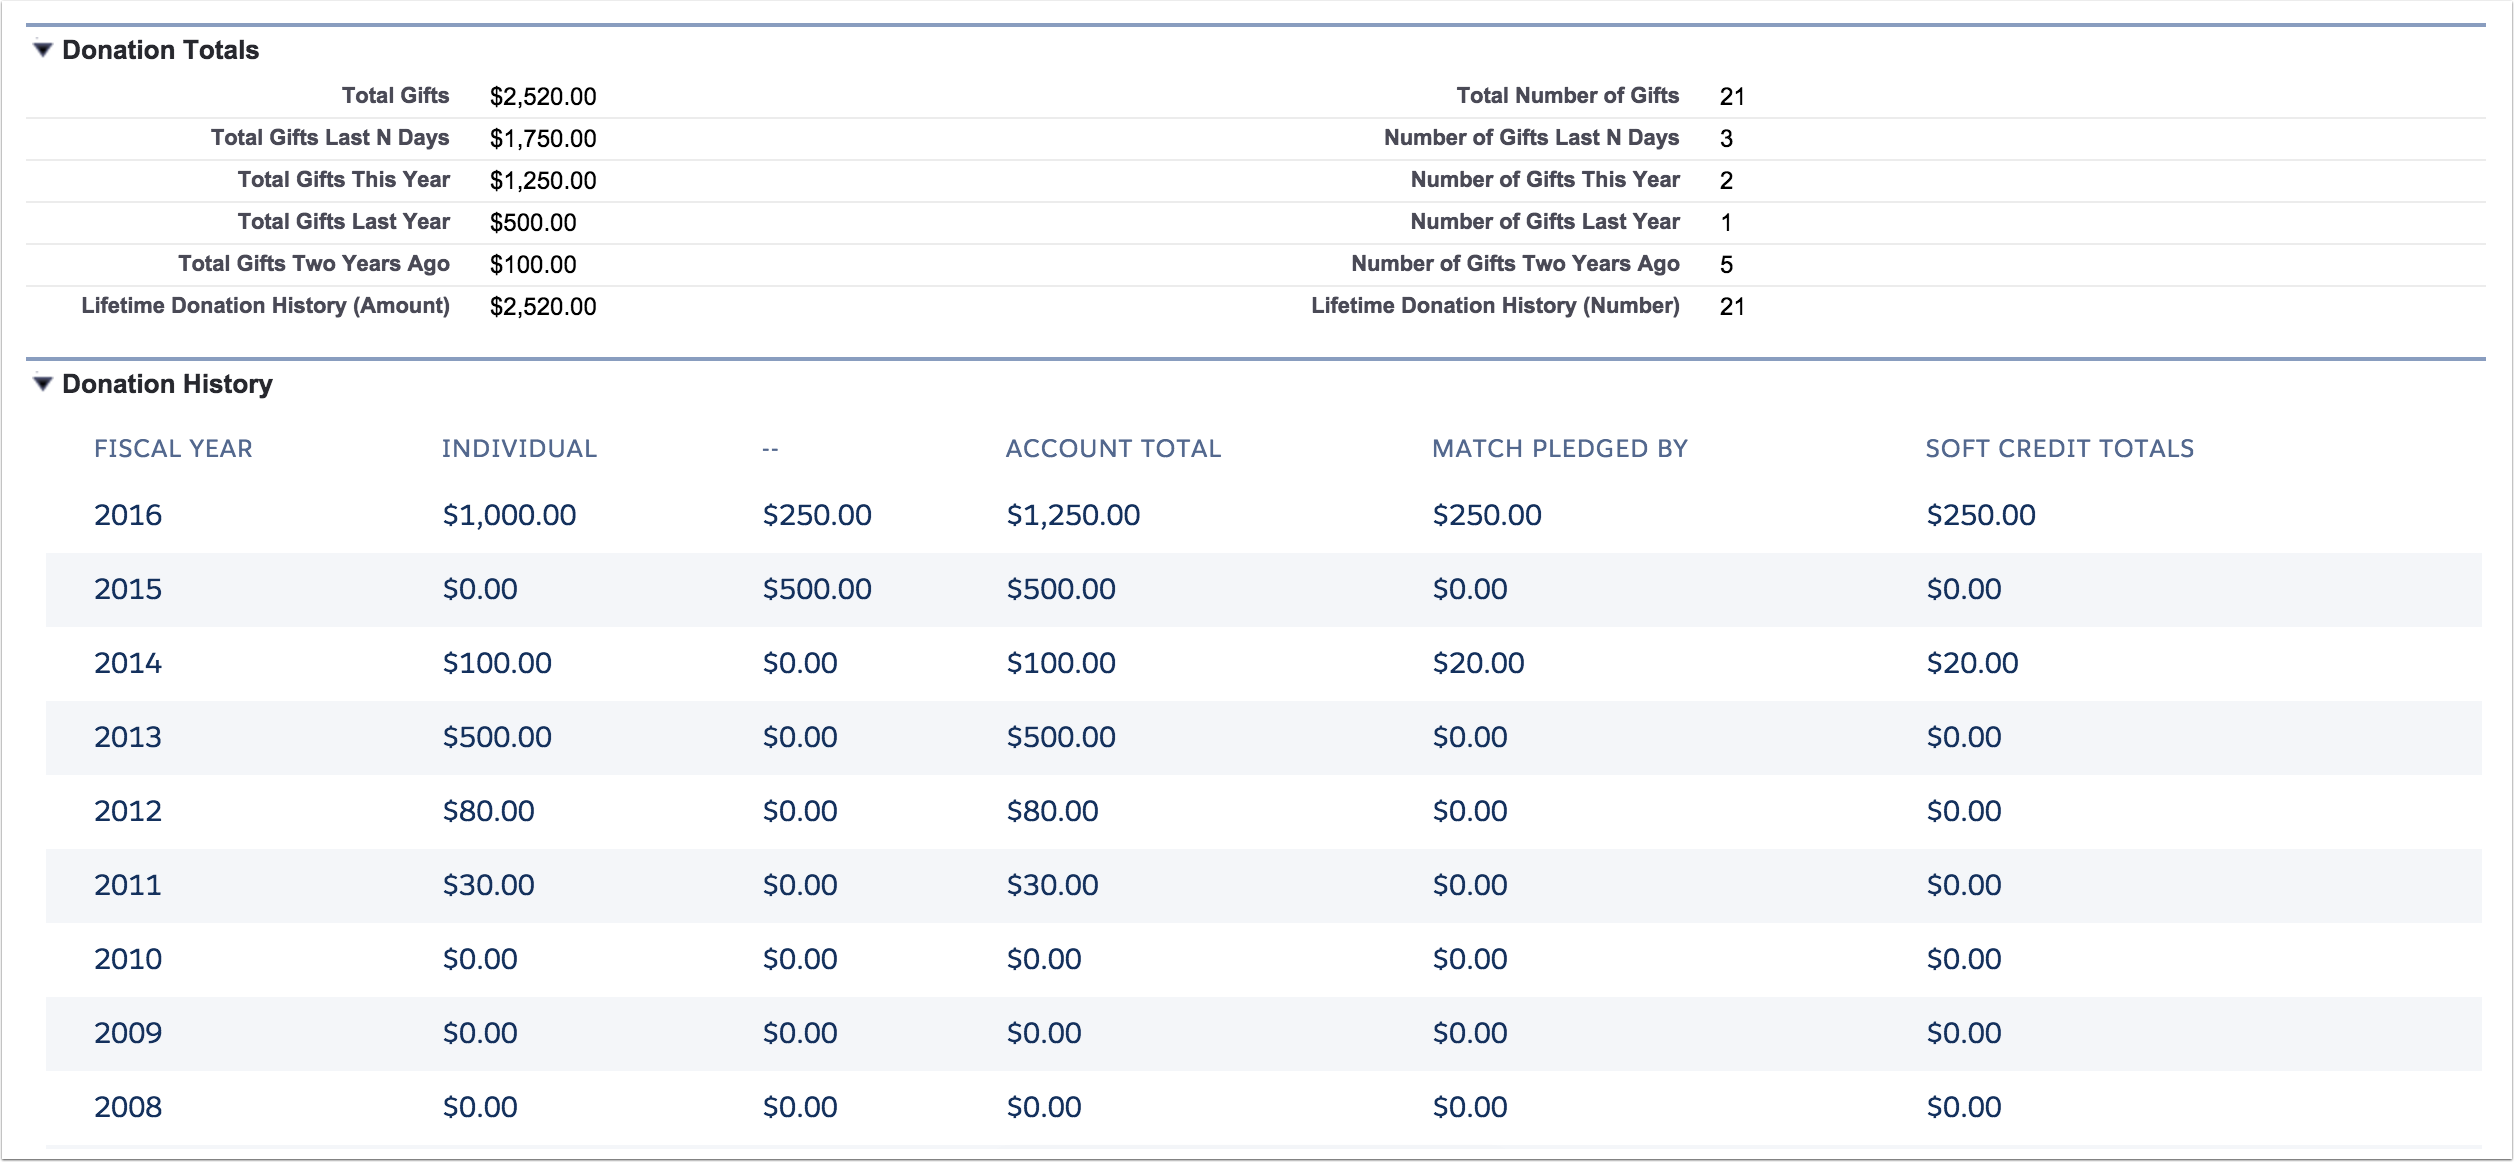
This package includes pagelets to display donation history on the standard Account and Contact page layouts. Donation history is summarized by year, record type, and opportunity contact roles. There is a custom setting to help configure the pagelets and what donations are relevant to them.
You can find out more about the development of the package at https://github.com/cdcarter/SalesforceDonationHistory.

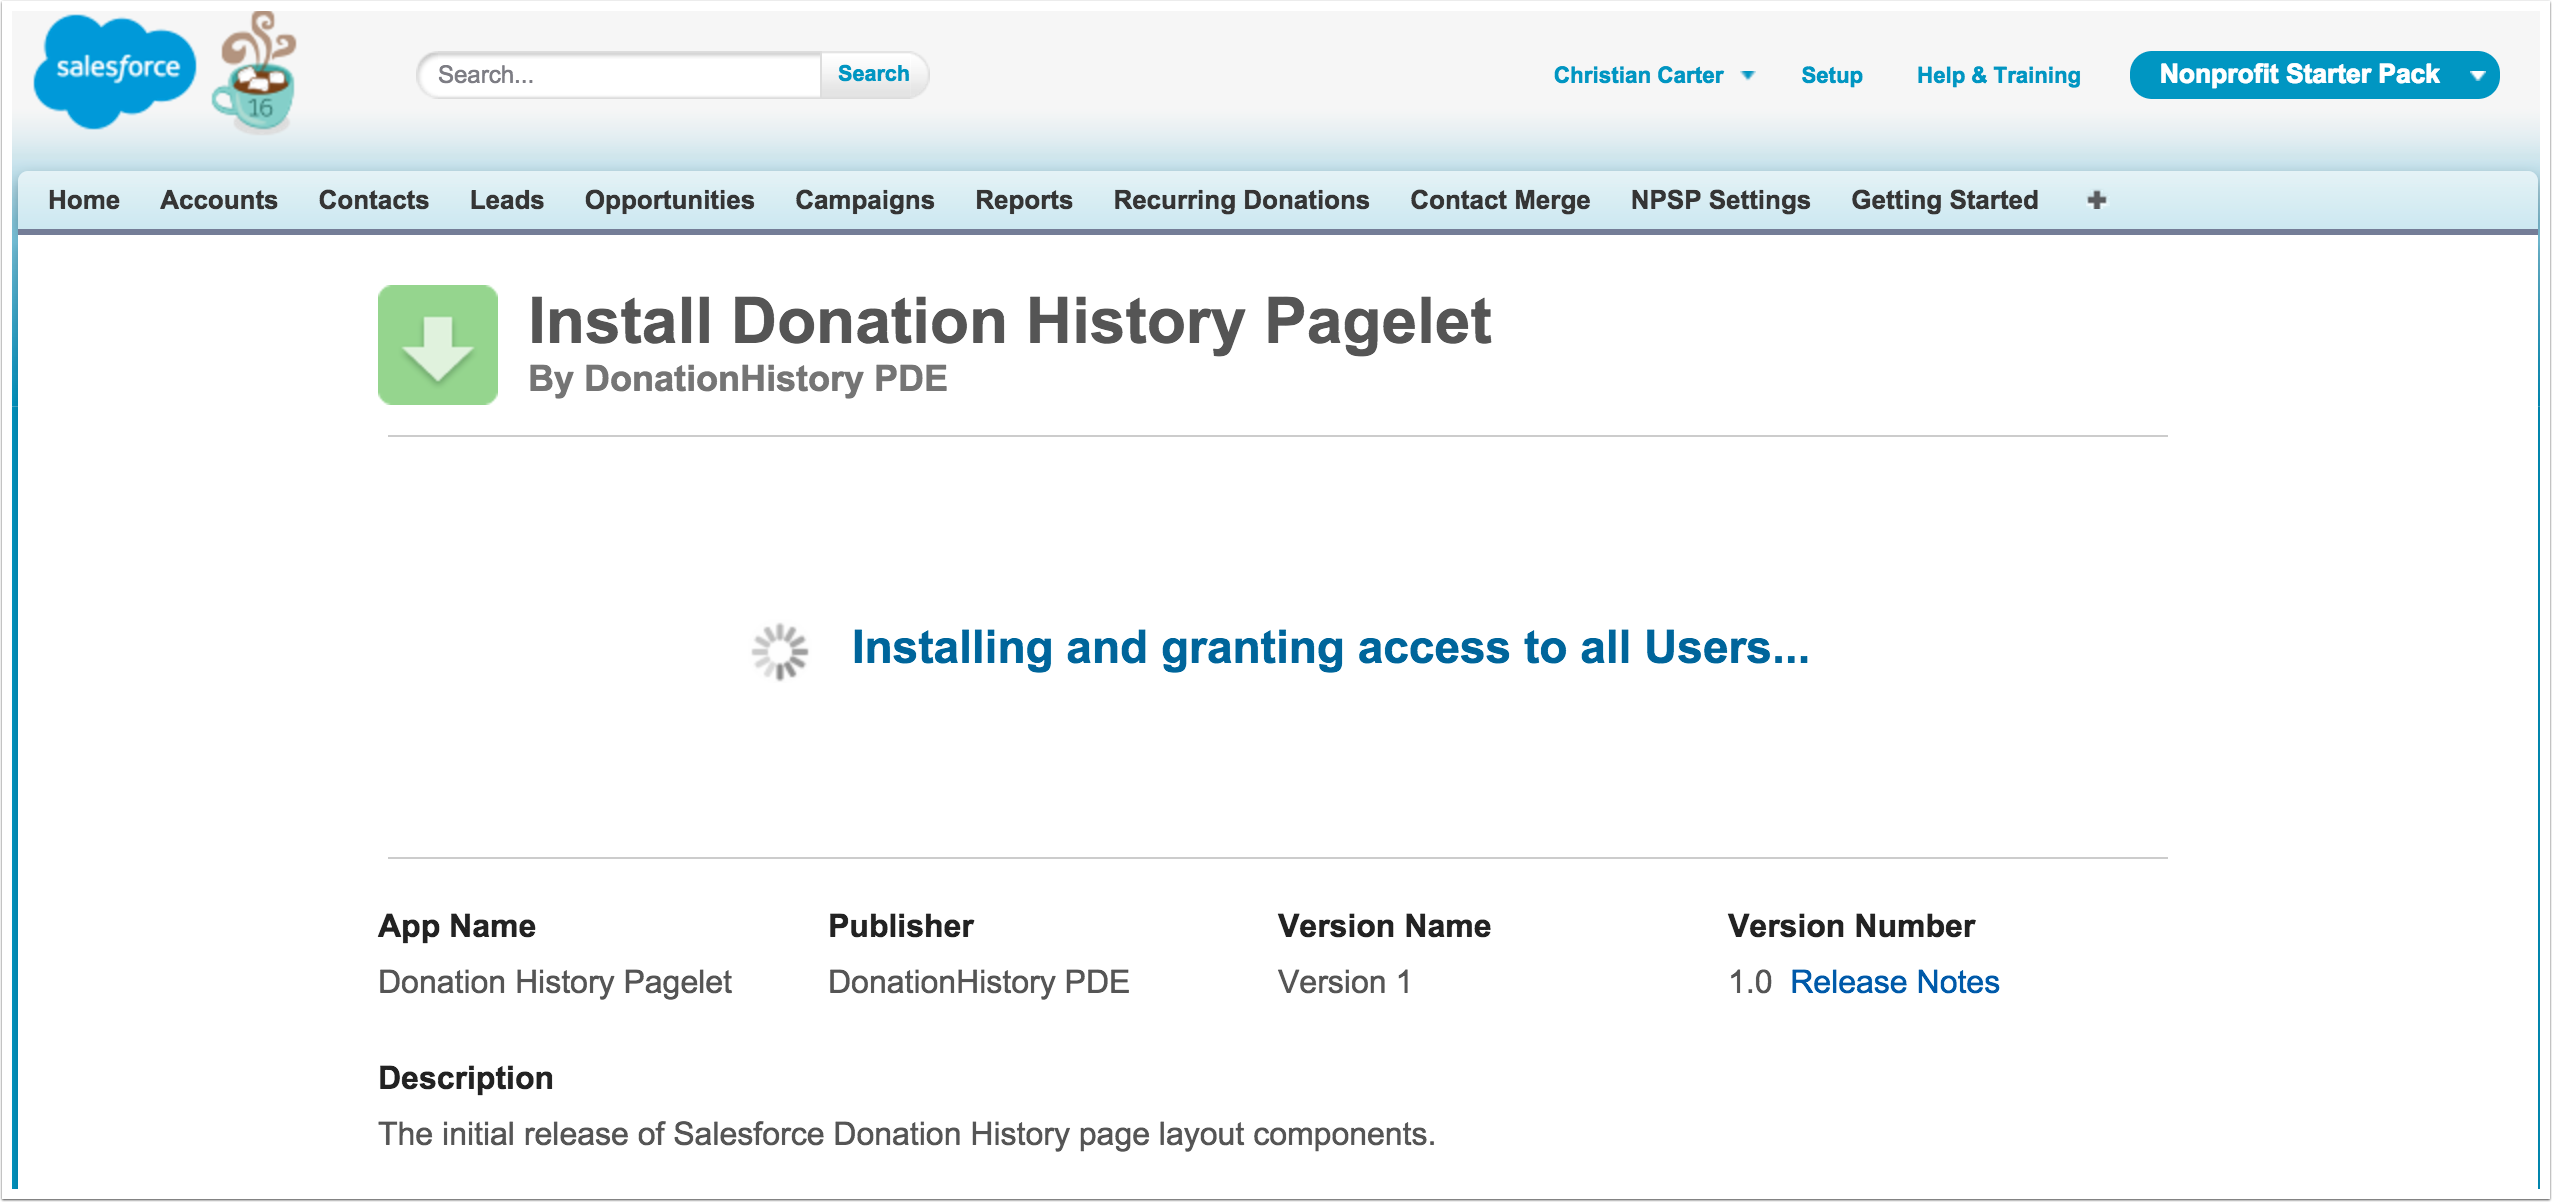
Install the Package for All Users
Use the managed package install link (https://login.salesforce.com/packaging/installPackage.apexp?p0=04t6100000048Bd) to start the install process. Choose to install for all users, and then wait!
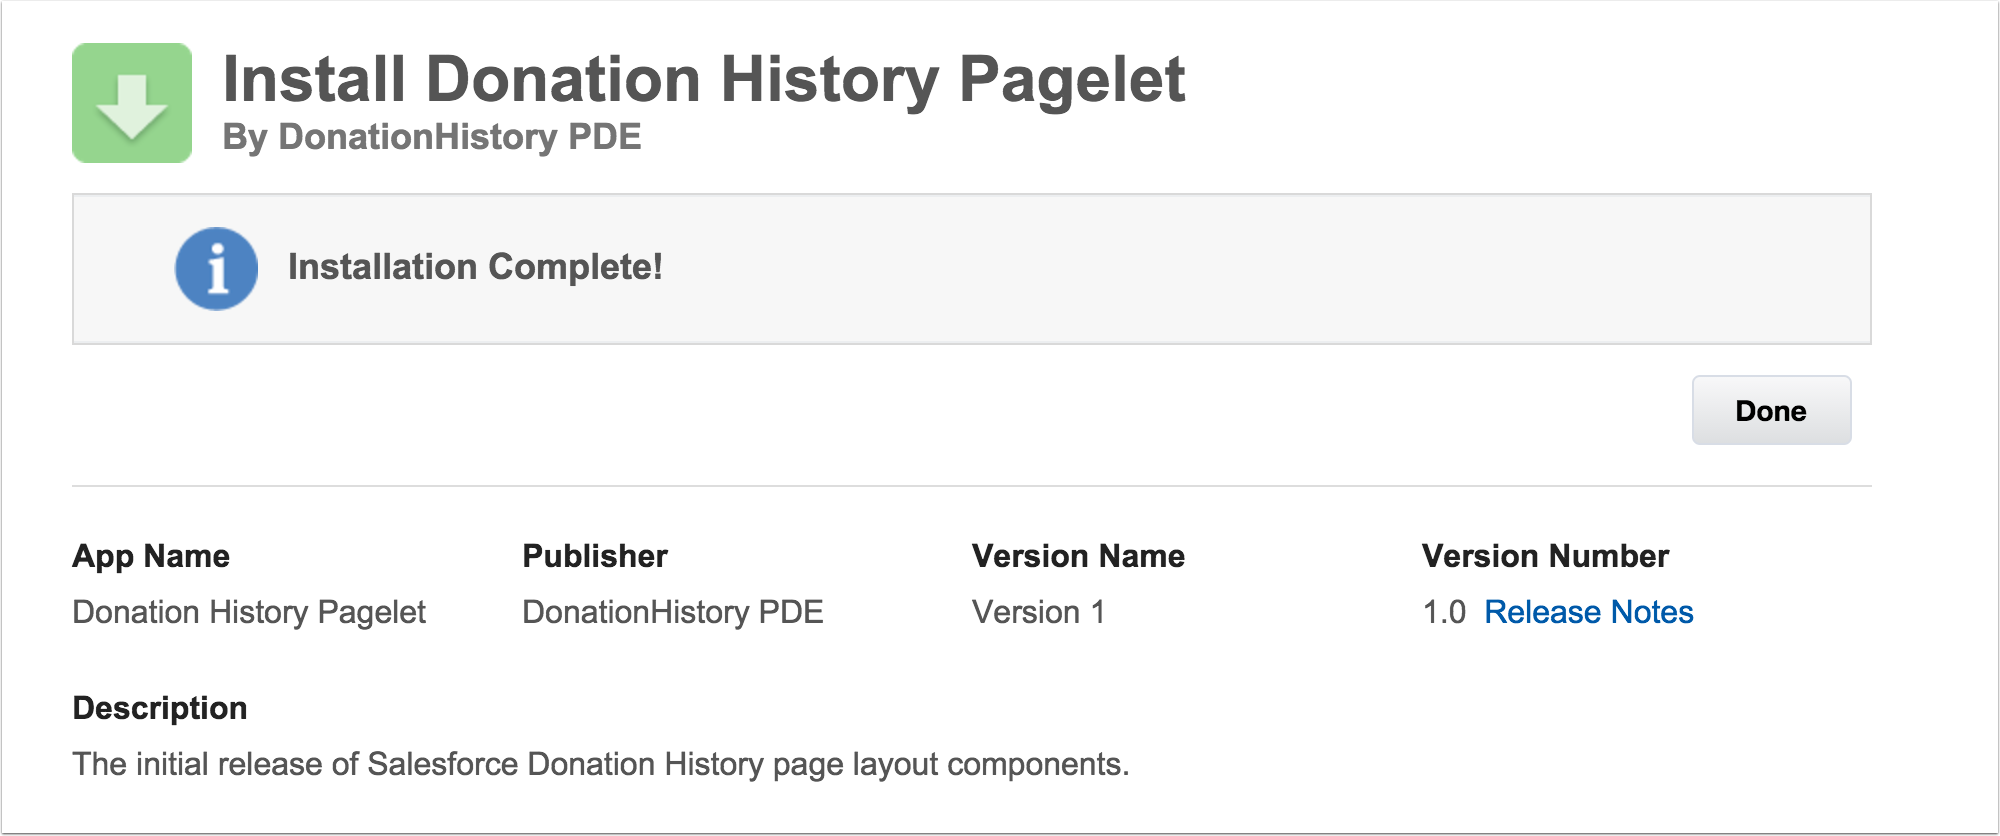
Success
In a few moments, the package will be installed and you'll be on your way.
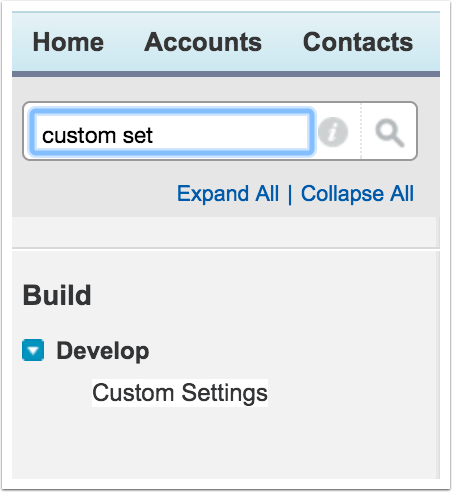
Set some settings!
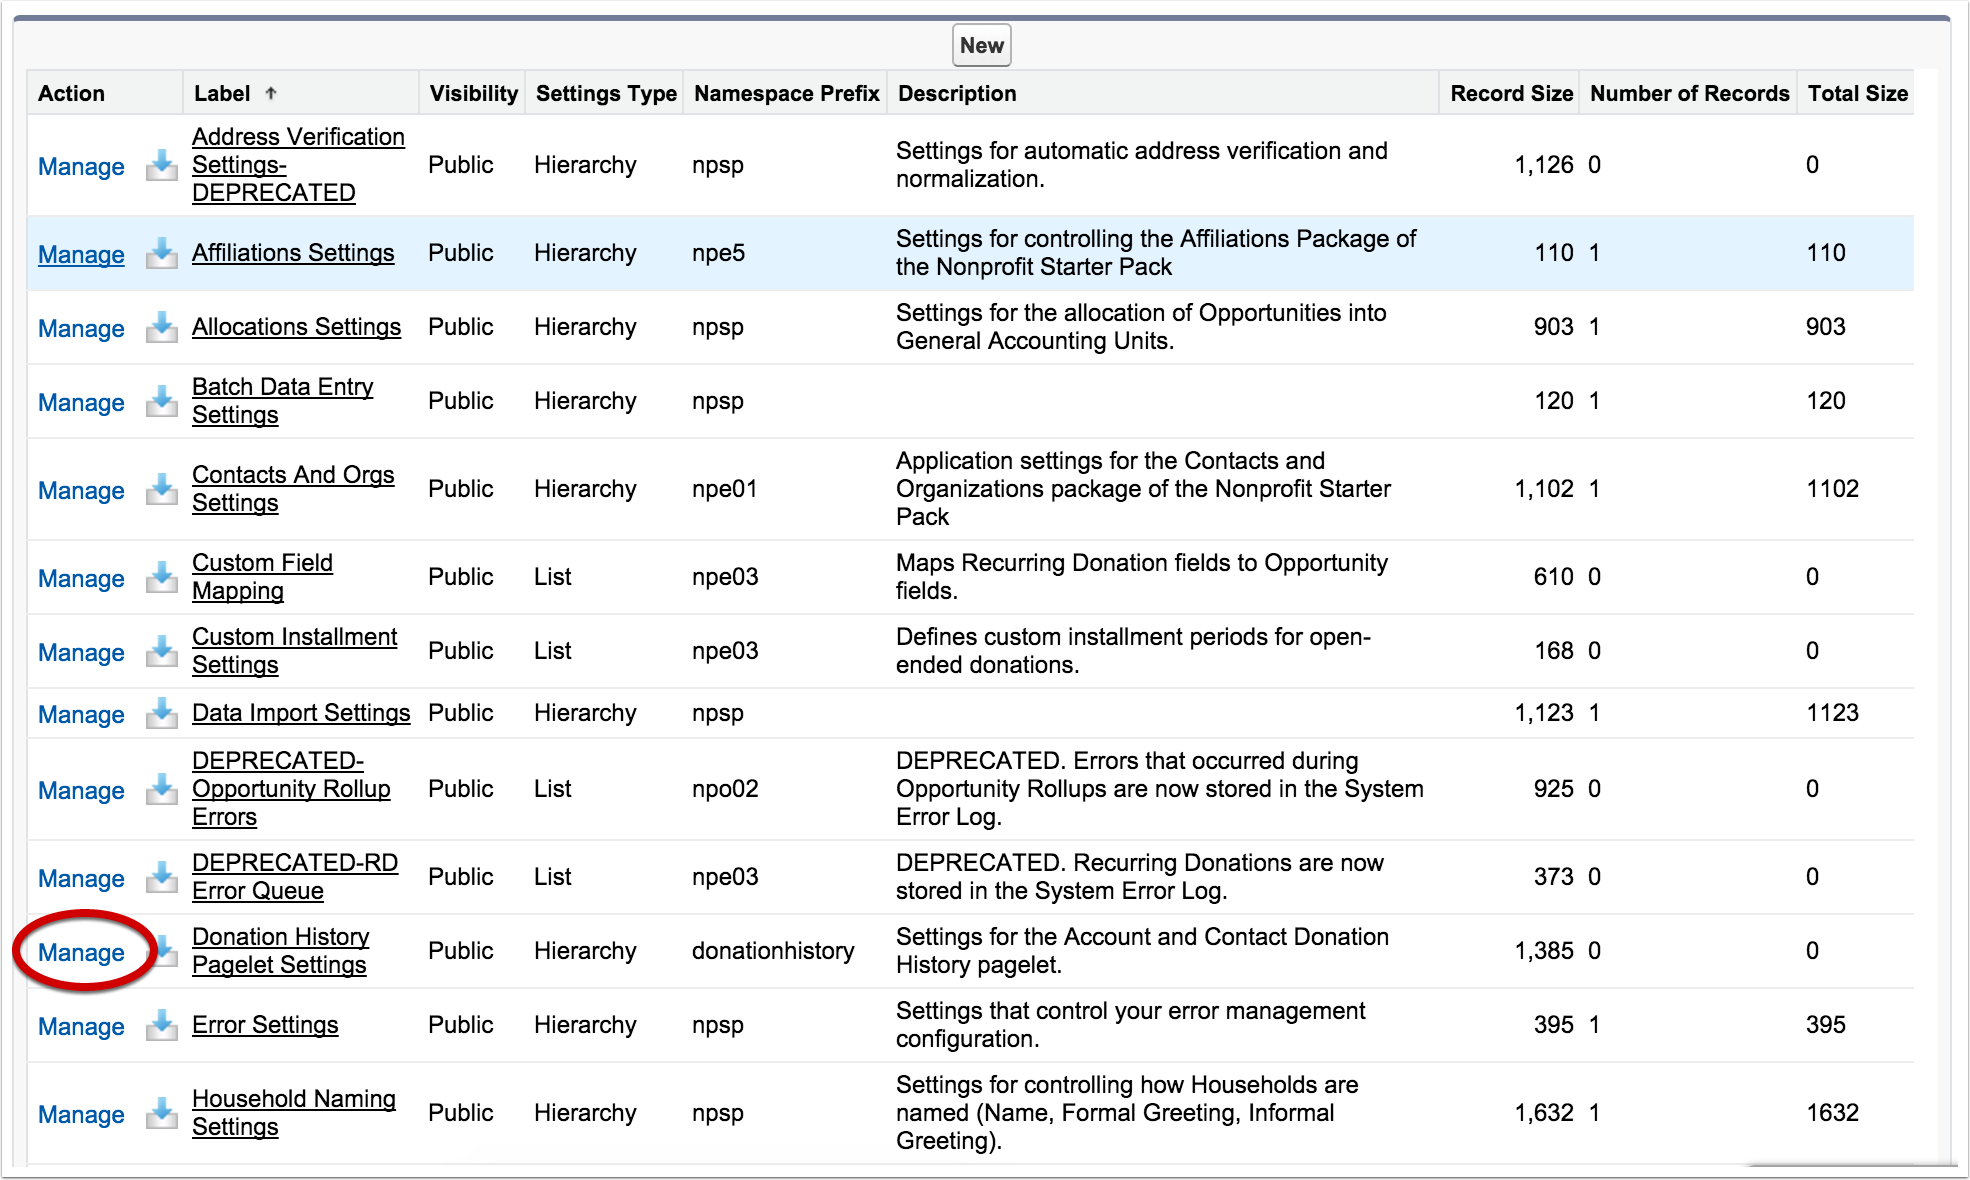
Once you've installed the package, the first thing you need to do is set some custom settings. Navigate to the setup tab and search for "custom settings".
Manage the right setting
Click the "Manage" link next to Donation History Pagelet Settings
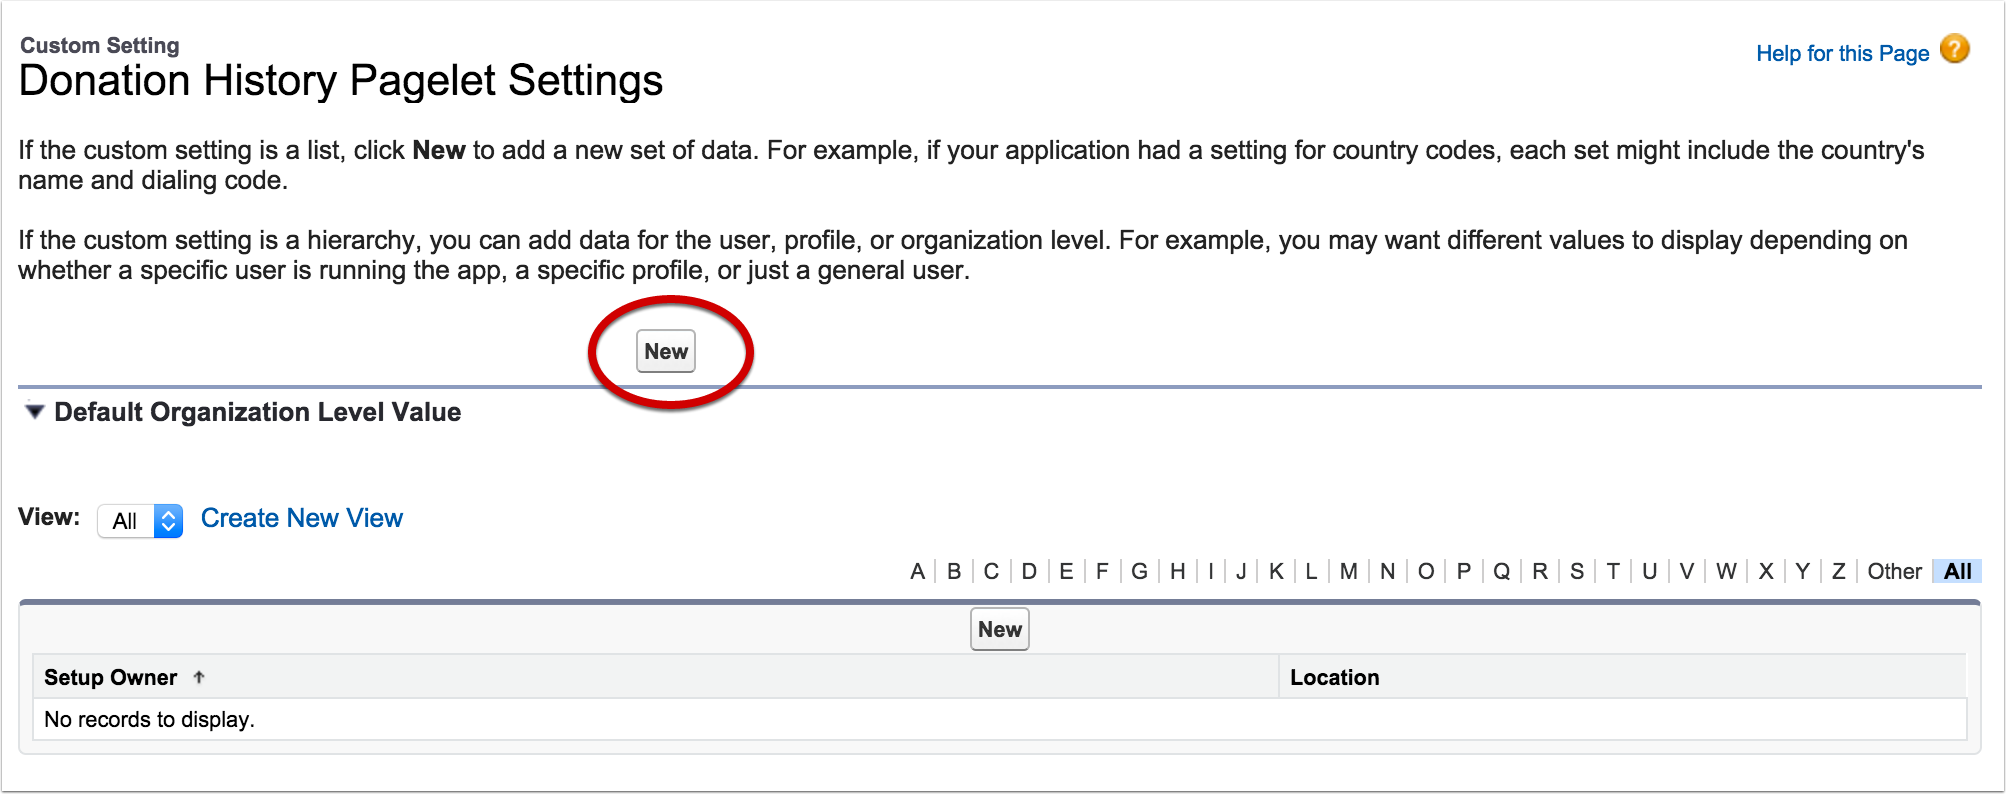
Create an Organizational Level Value
The easiest way to get started is to to create an organizational level setting. Later, you can choose to put settings at the profile or user level, but let's just get it up and running.
Set your settings
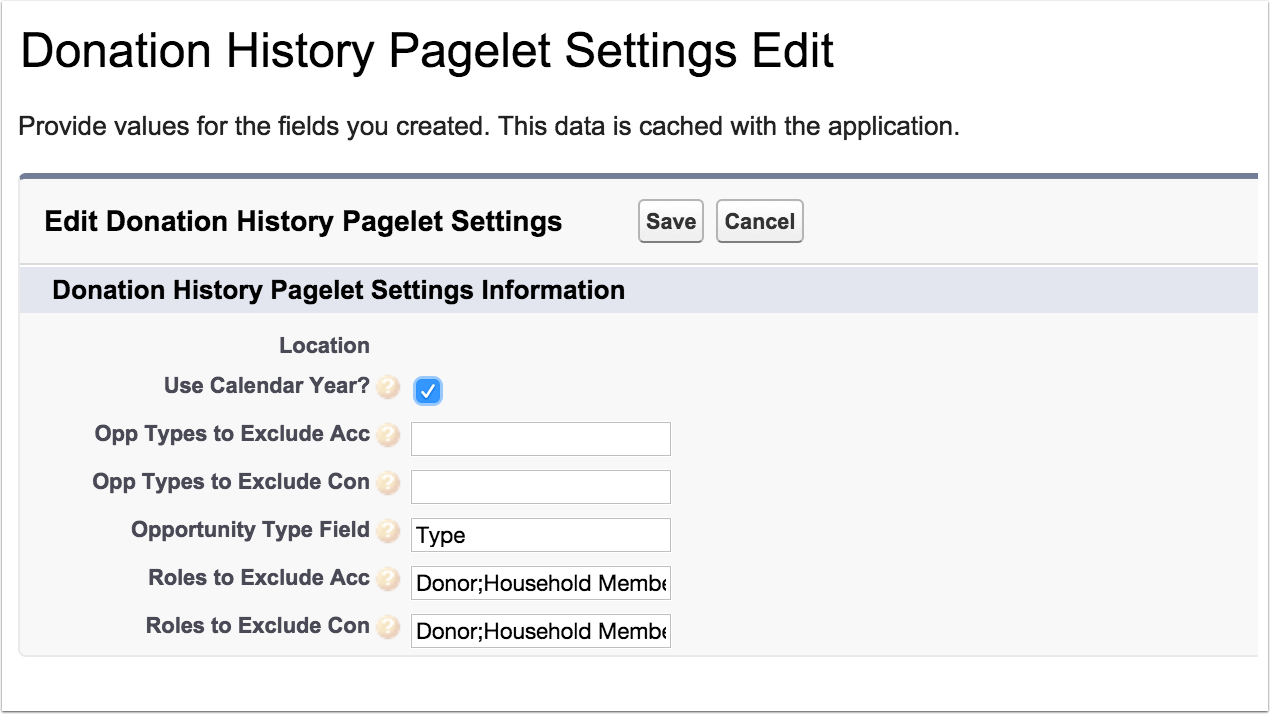
On this page, you have a lot of options for how the default components will operate.
- Use Calendar Year? is an option that will show the donations by Calendar Year instead of by Fiscal Year.
- Opp Types To Exclude Acc - a semicolon seperated list of Type values you don't want to see on your Account page
- Opp Types To Exclude Con - rinse and repeat, for the Contact page.
- Opportunity Type Field - this is the field that hard credits will be summarized by. You may want to use
RecordType.Name,Type, or a custom field likePatronDonate__Fund__c. - Roles to Exclude Acc - These are the soft credit roles to exclude from summary on the Account Page.
- Roles to Exclude Con - These are the soft credit roles to exclude from summary on the Contact Page. I recommend not excluding Household Member on the Contact page, but you can configure it as you like.
The components will work out of the box if you accept the default values.
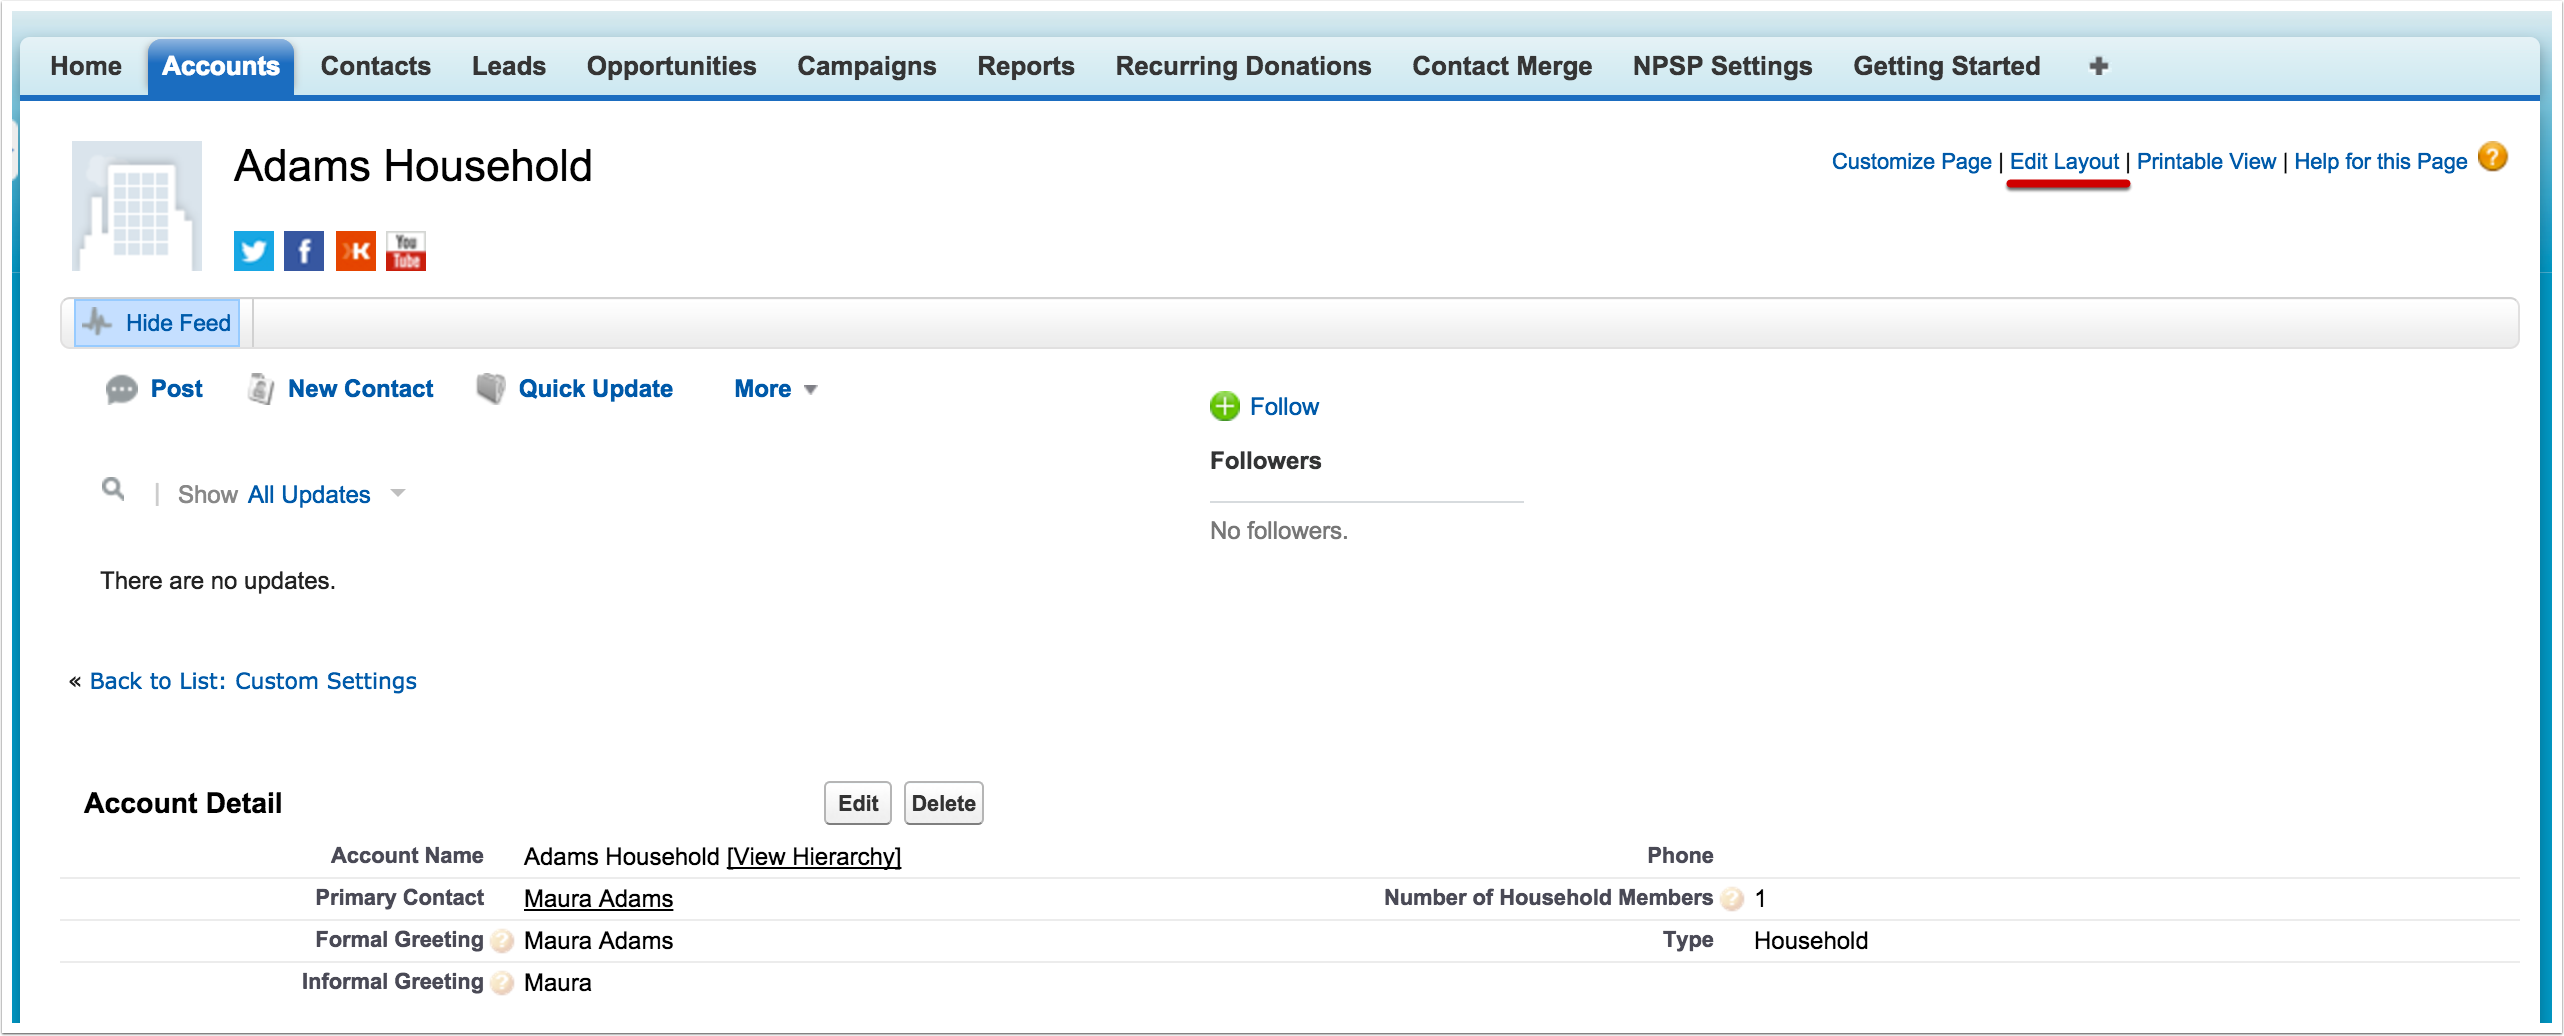
Update your Page Layout
This step should be taken for EACH page layout that you want to see the grid on. The Household layout, the Organization layout, and the Contact layout are good starting places.
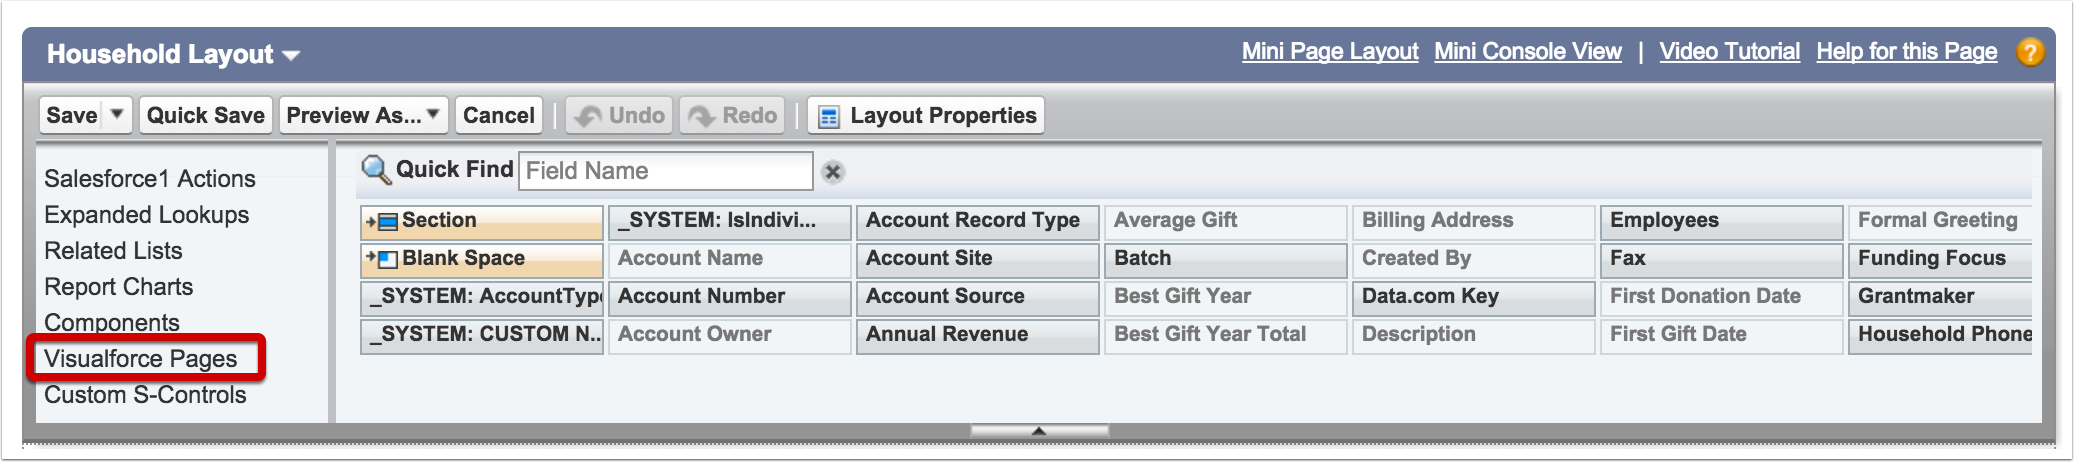
Get VF Pages
Select "Visualforce Pages" in the component chooser.
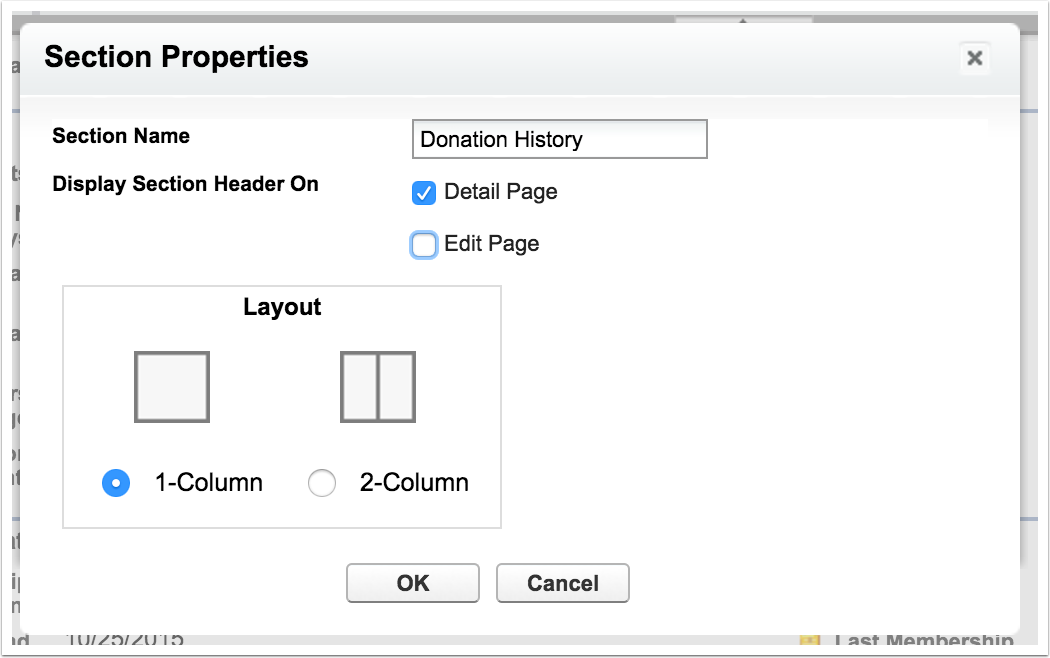
Create a new 1-Column Section
Create a new 1-column section where you want the grid to appear on your page layout. Do not display the section header on edit.
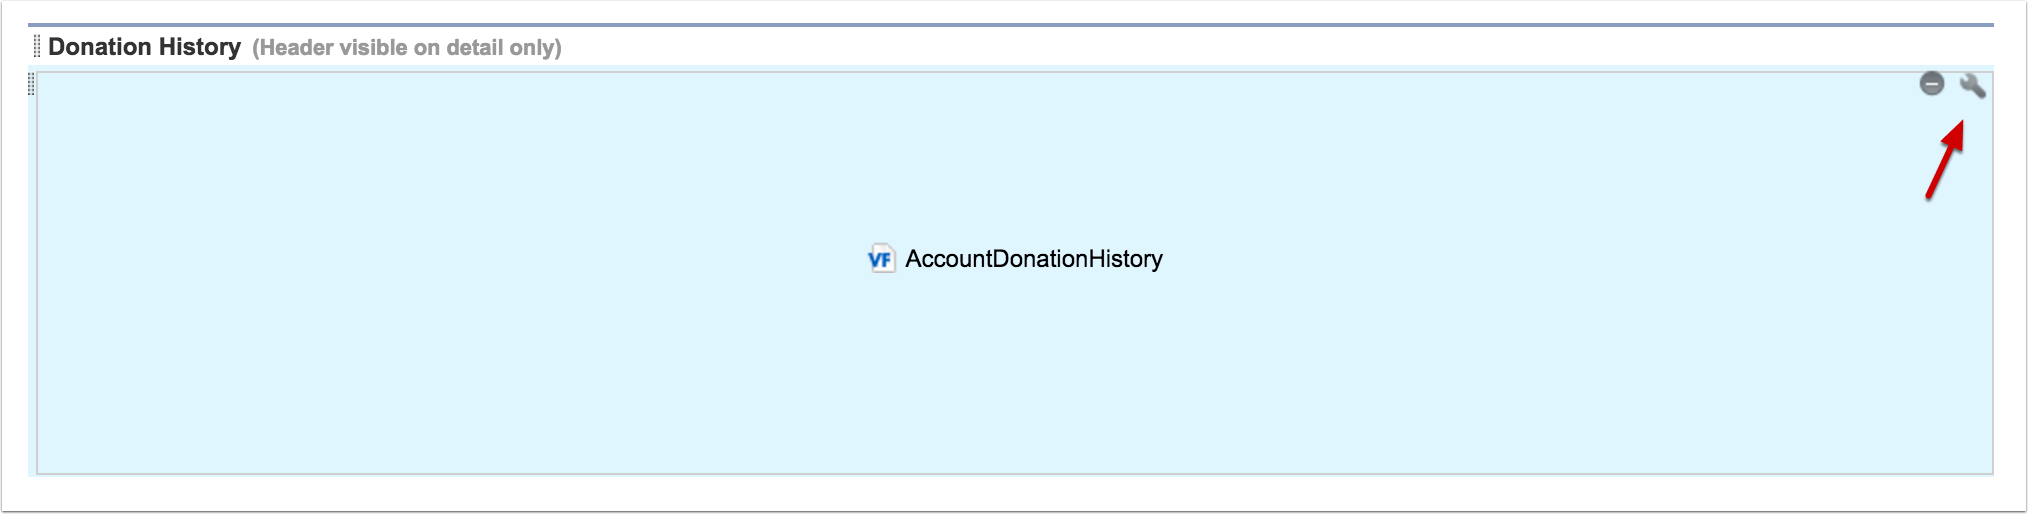
Drag the component into the page layout
Drag AccountDonationHistory (or ContactDonationHistory) into your new section

Edit the page settings
Hover over your VF page block, and click the wrench to edit settings.
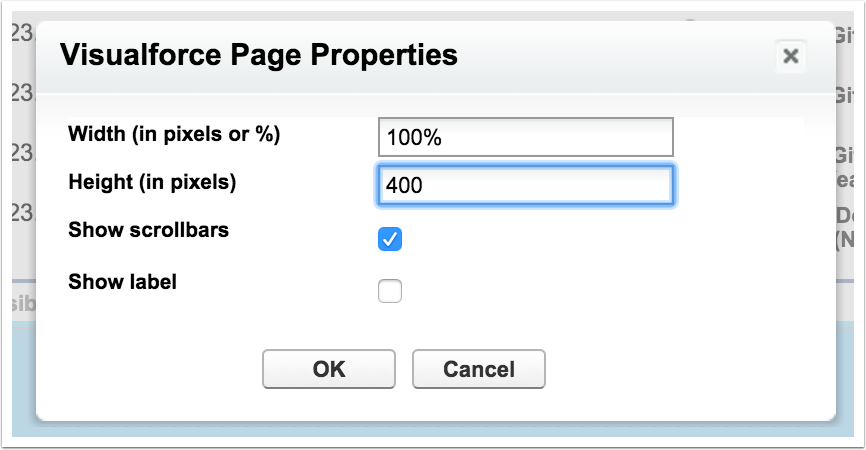
Set the page properties
Leave the width at 100%, and make sure to check "Show scrollbars".
Visualforce pages in page layouts have a fixed height. The default height of 200px will show 6 rows of the table. Depending on how many years your average donor has been with your organization, you may want to increase or decrease the size of the box. By checking "show scrollbars", you'll be able to scroll within the IFrame, but if you consistently have donors with over 4 years of donation history, you might consider a larger height.
Rinse and repeat for other page layouts
Any Contact or Account page layout can have the VF page added, so go make sure it's everywhere you need to see doantion history.
Feel an overwhelming sense of success!
Once you save your page layout, the donation history will be right there for you and for your users.
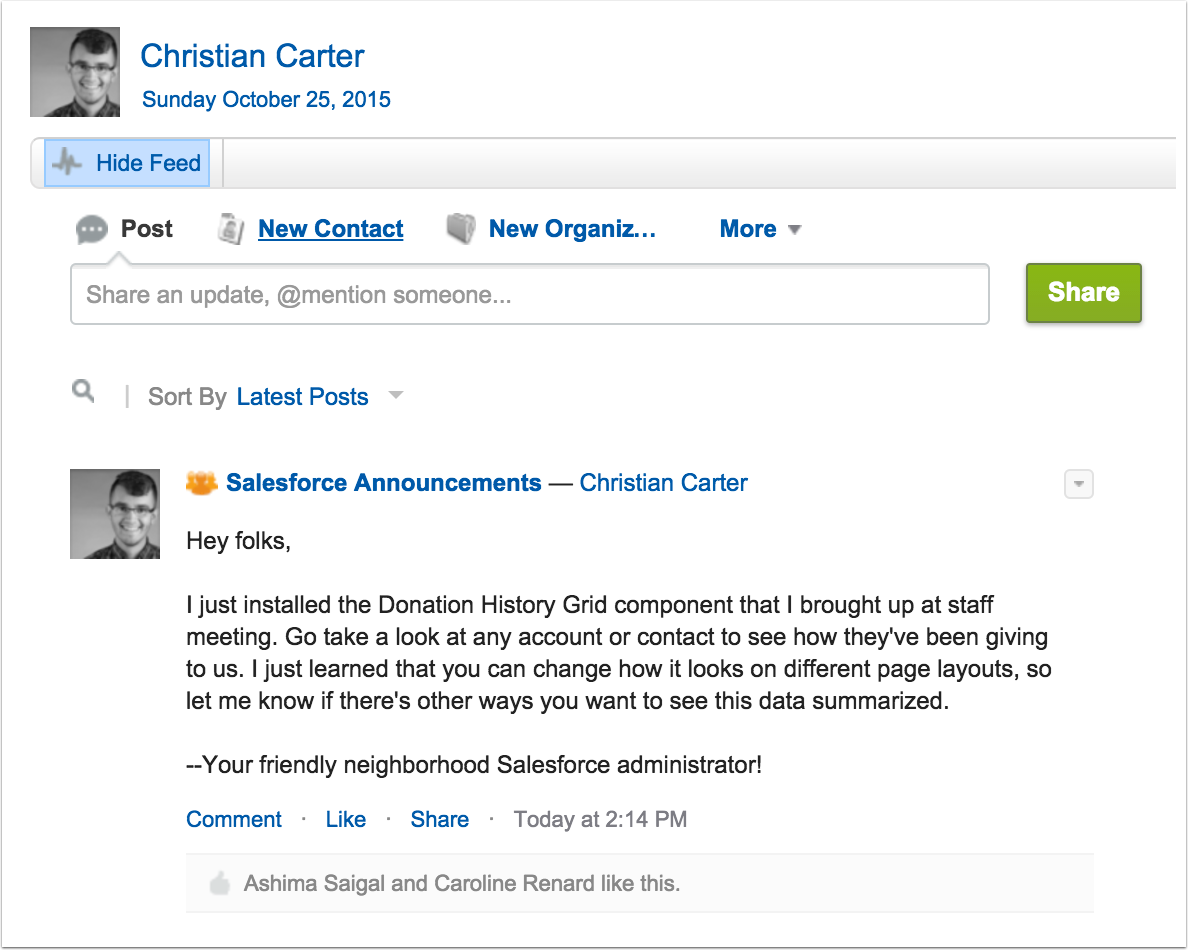
Share it with your team!
However you communicate with your users, make sure to let them know that there's a new feature, and solicit their feedback.